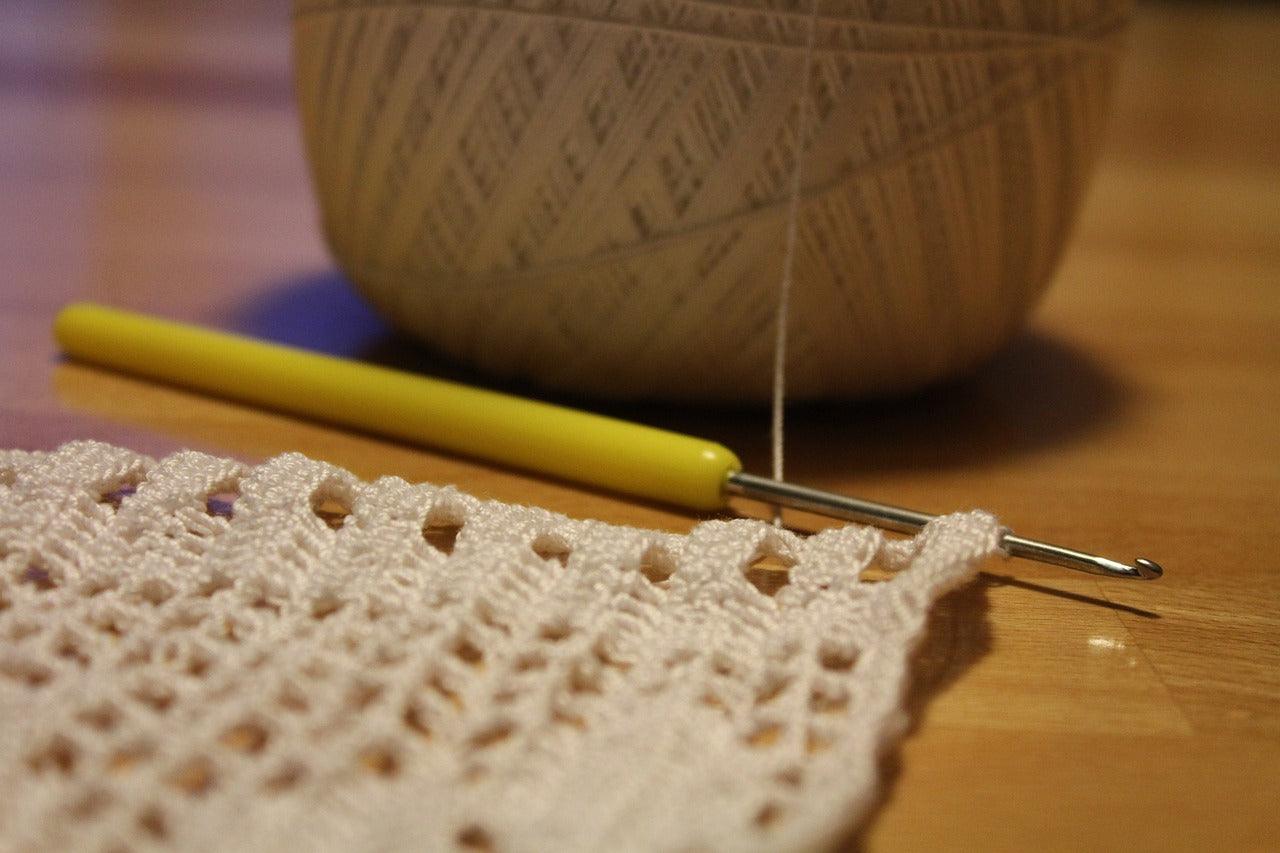
Mastering the Basics: Front and Back Crochet Stitches
Welcome, crochet enthusiasts! Today, we’re diving into the basics of front and back crochet stitches. Whether you're a complete beginner or looking to refine your skills, this guide will help you master these essential techniques. Grab your hook, some glow yarn, and let's get started!
Materials Needed
- Crochet Hook: Choose a size appropriate for your yarn.
- Glow Yarn: Perfect for adding a unique touch to your projects.
- Scissors: For cutting your yarn.
- Tapestry Needle: To weave in ends.
Step-by-Step Guide
1. Starting with a Chain Stitch
- Begin with a slip knot on your hook.
- Yarn over and pull through the loop on the hook to create your first chain stitch.
- Continue yarning over and pulling through to create a foundation chain of desired length.
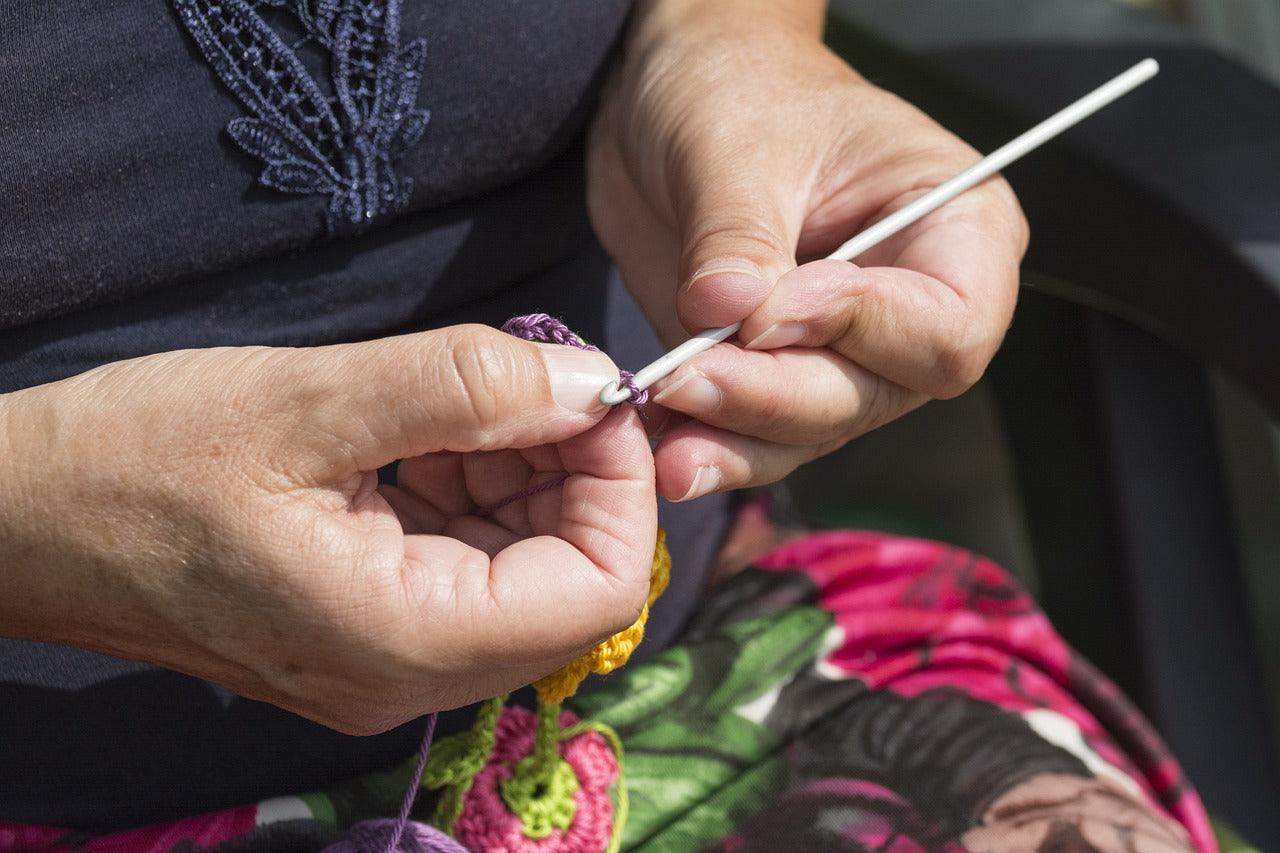
2. Front Crochet Stitch (Single Crochet)
- Insert your hook into the second chain from the hook.
- Yarn over and pull through the chain (two loops on the hook).
- Yarn over again and pull through both loops on the hook. This completes one single crochet stitch.
- Repeat across the row.
3. Turning Your Work
- At the end of the row, chain one (this is your turning chain).
- Turn your work so that you're crocheting back along the previous row.
4. Back Crochet Stitch (Single Crochet)
- Insert your hook into the first stitch of the previous row.
- Yarn over and pull through the stitch (two loops on the hook).
- Yarn over again and pull through both loops on the hook.
- Repeat across the row.
Tips for Beginners
- Consistency: Keep your tension consistent for even stitches.
- Practice: Repetition is key to mastering these stitches.
- Patience: Take your time, and don't rush the process.
Conclusion
Congratulations! You've learned the basics of front and back crochet stitches. With practice, these techniques will become second nature. Stay tuned for more beginner-friendly crochet tutorials, and happy crocheting!





Leave a comment
This site is protected by hCaptcha and the hCaptcha Privacy Policy and Terms of Service apply.