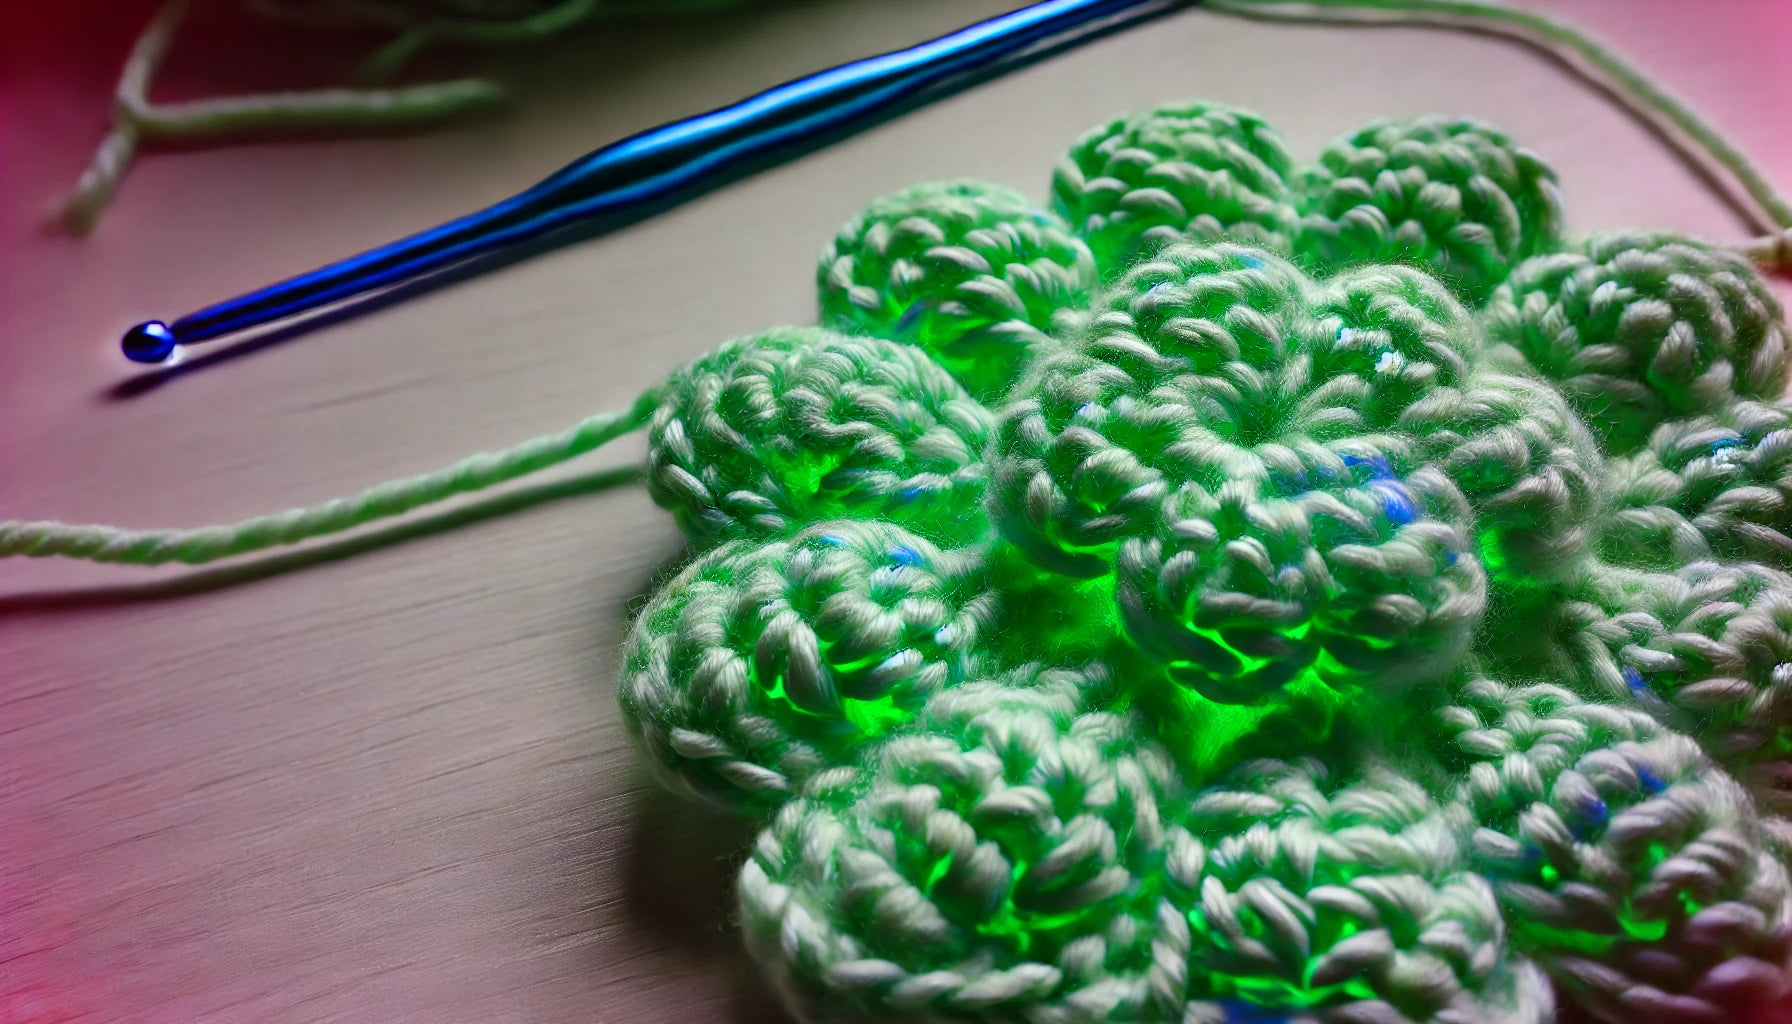
How to Crochet Puff Stitches: A Beginner-Friendly Tutorial
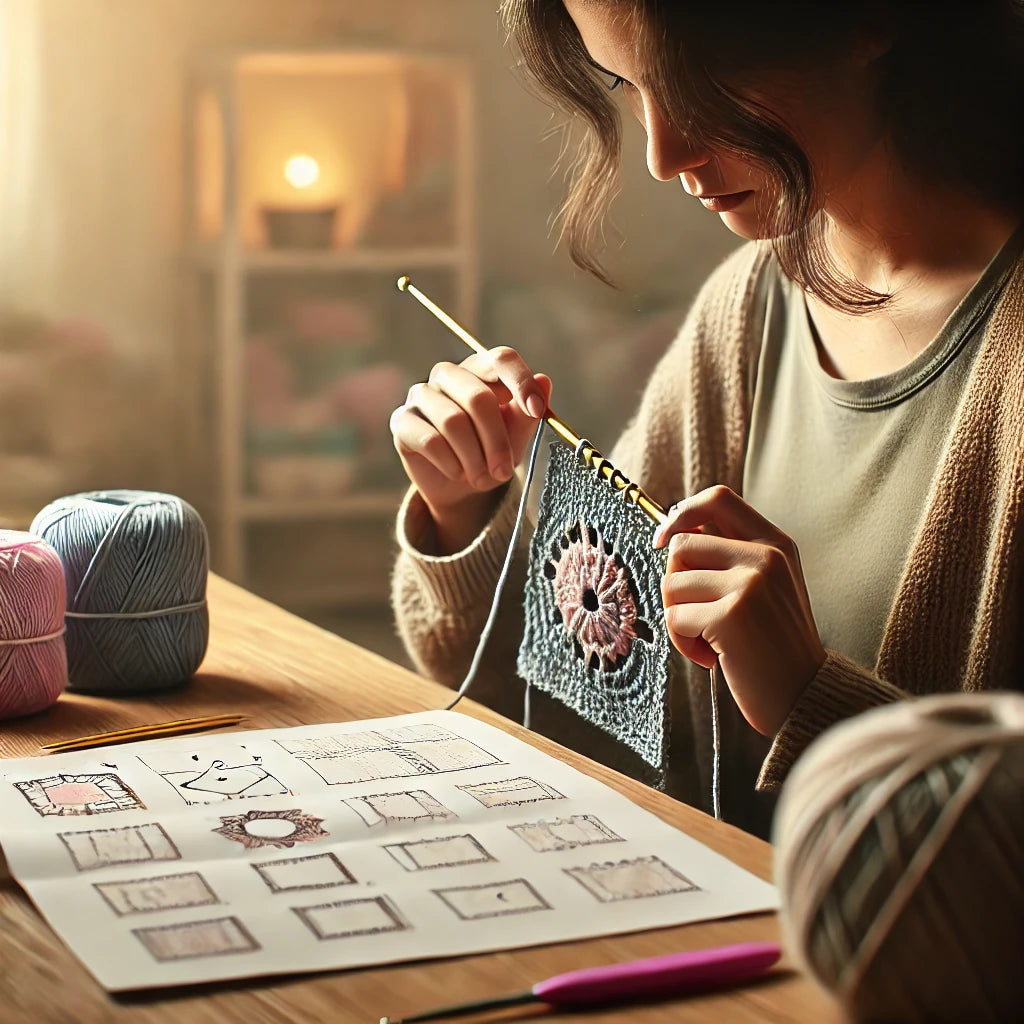
Crocheting puff stitches can add a lovely texture to your projects, making them stand out with a soft, puffy effect. In this tutorial, I'll guide you through the process, ensuring even those new to crocheting can pick up this technique quickly.
What You'll Need:
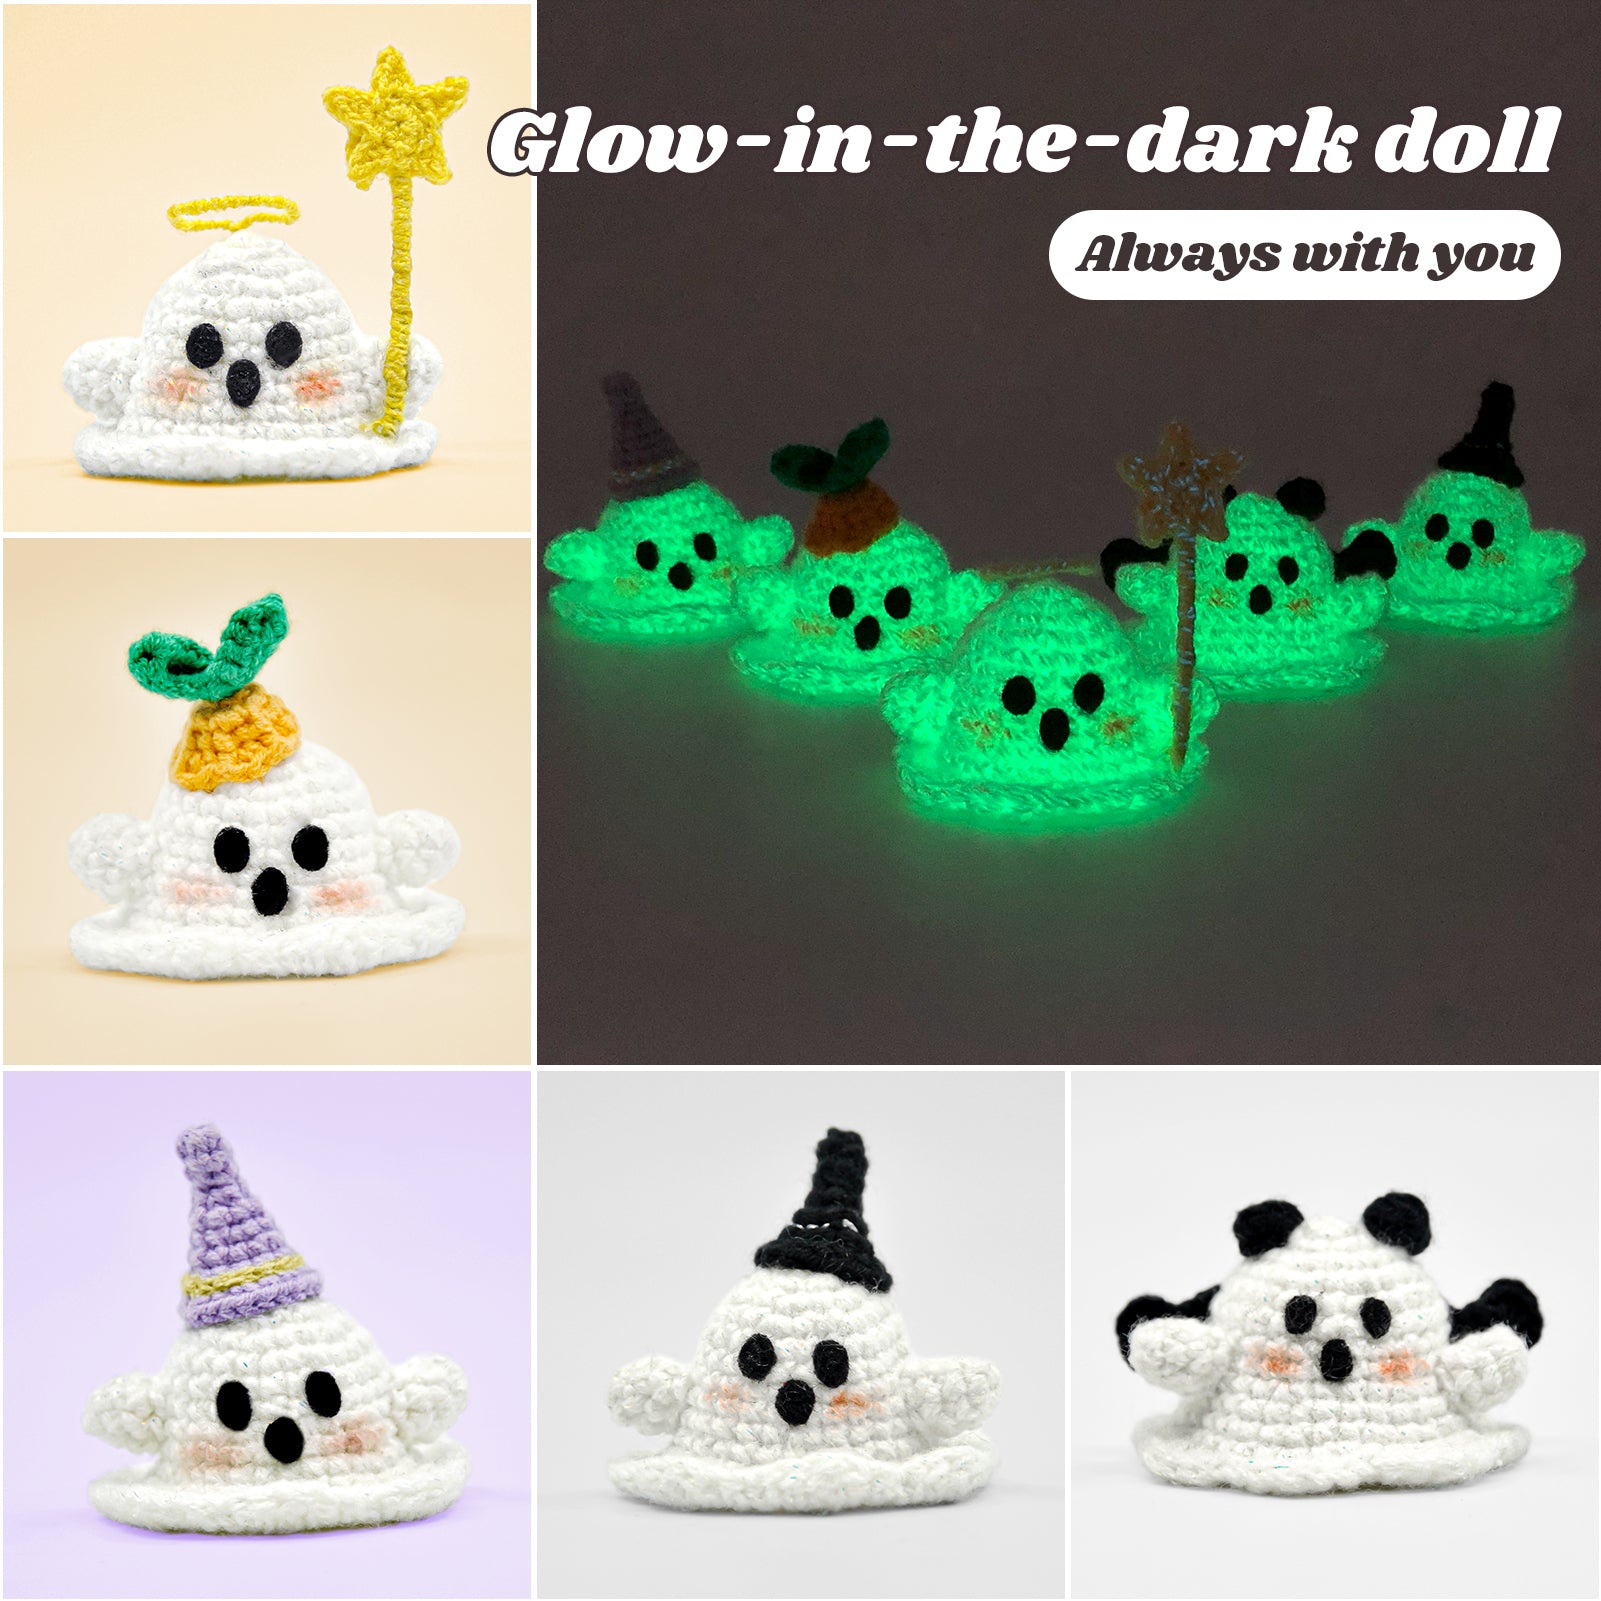
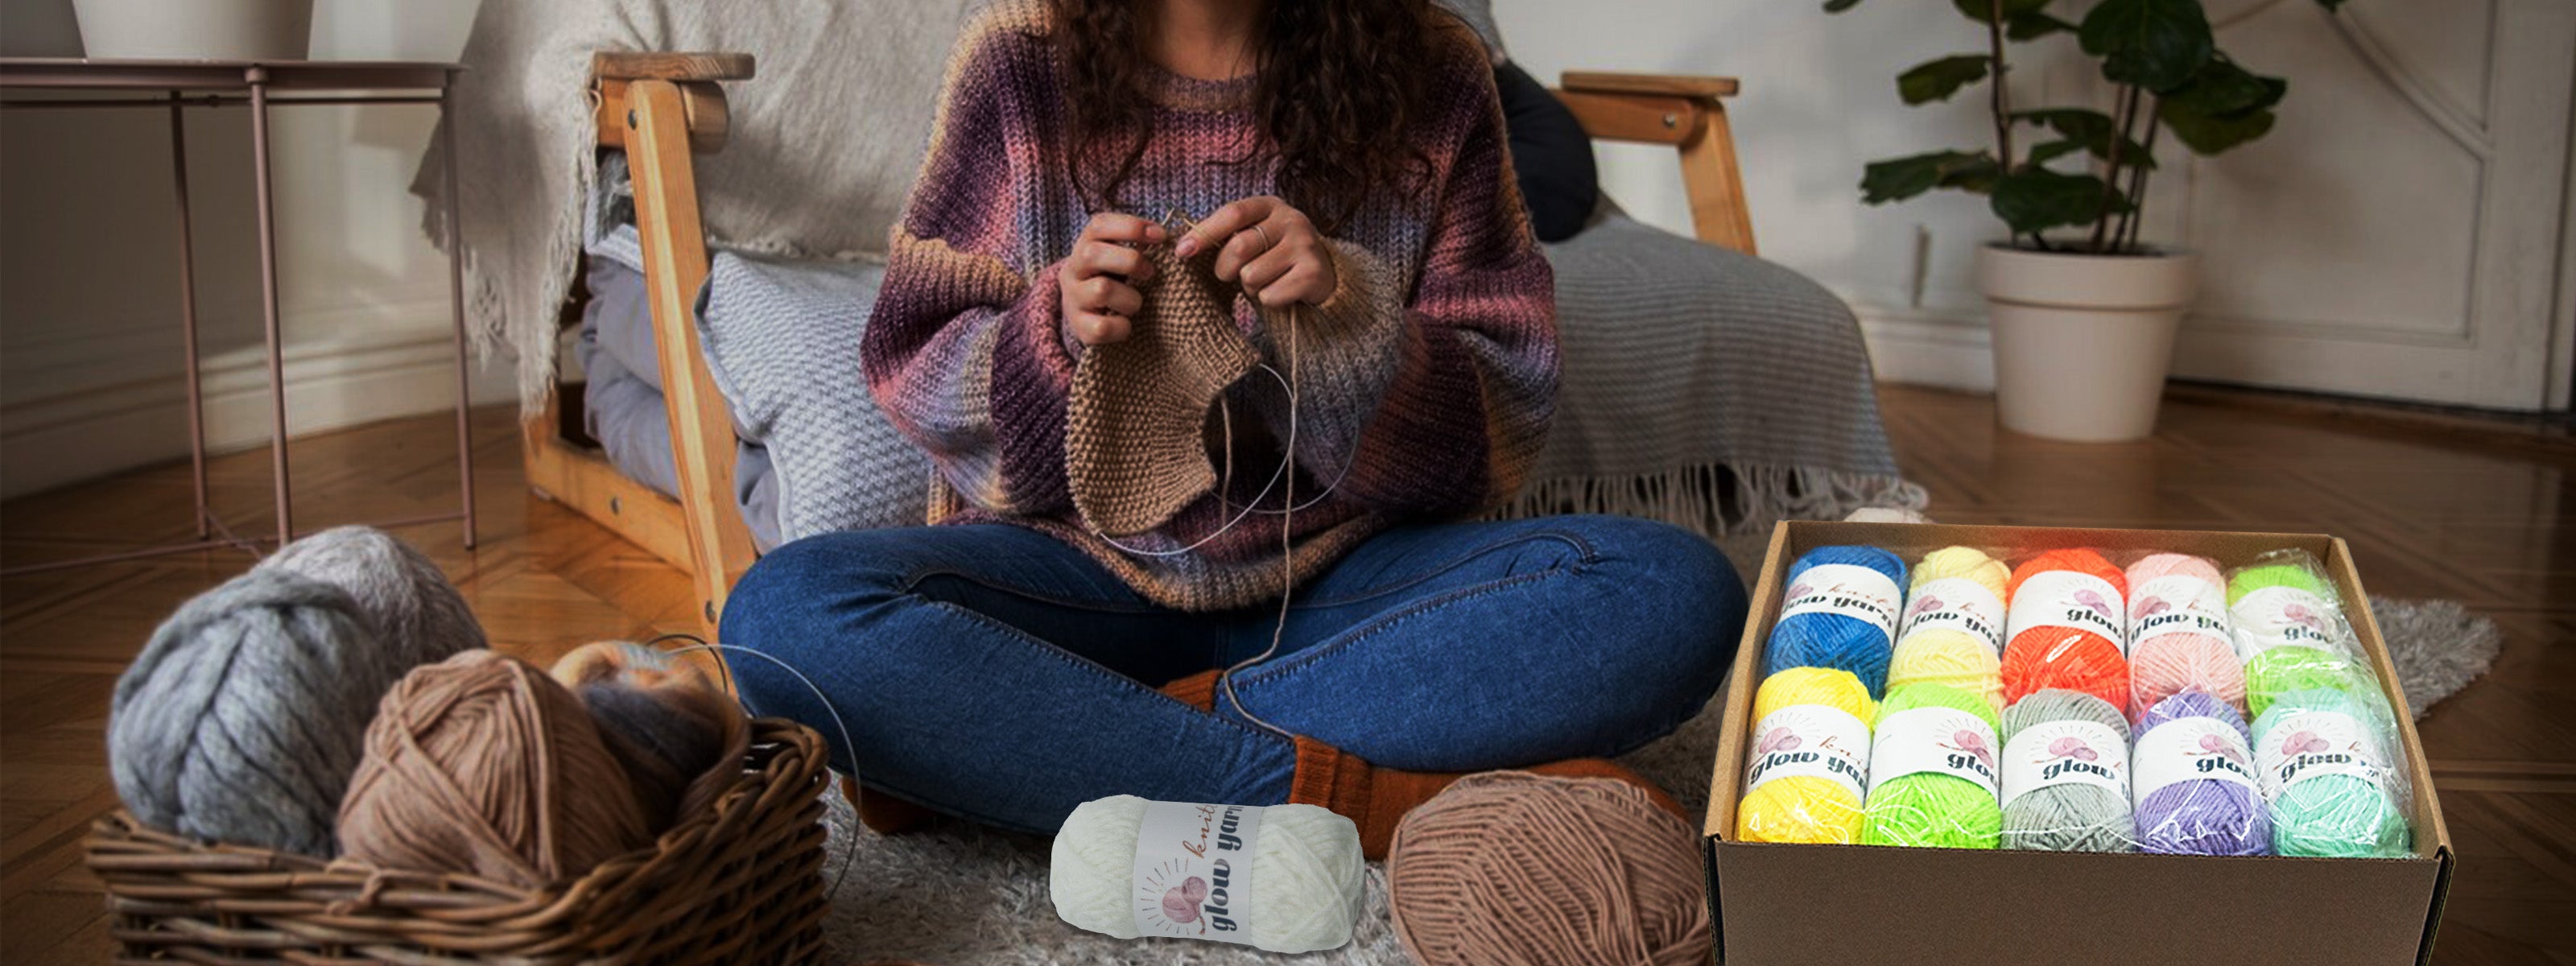
- Yarn: I highly recommend using BlingBlingYarn glow-in-the-dark yarn. This special yarn adds an enchanting glow to your projects, making them truly one-of-a-kind, especially for evening wear or home decor.
- Crochet Hook: Use the hook size recommended on your yarn label.
- Scissors: For cutting the yarn at the end.
- Tapestry Needle: To weave in the ends.
Step 1: Start with a Foundation Chain
Begin by making a foundation chain. For this tutorial, let’s start with a chain of 20 stitches. You can adjust the length according to your project.
Step 2: Yarn Over and Insert Hook
Skip the first chain and yarn over. Insert your hook into the next chain from the hook.
Step 3: Yarn Over and Pull Through
Yarn over again and pull through the stitch. You should now have three loops on your hook.
Step 4: Repeat the Yarn Over and Pull Through
Yarn over, insert your hook into the same stitch, and pull through. Repeat this process until you have seven loops on your hook (including the initial loop). This is what gives the puff stitch its characteristic 'puffiness.'
Step 5: Close the Puff Stitch
Yarn over one last time and pull through all seven loops on your hook. This completes your first puff stitch.
Step 6: Chain One
To lock the puff stitch in place, chain one. This also provides some space before the next puff stitch.
Step 7: Continue Across the Row
Skip the next chain and repeat steps 2 through 6 across the row, making a puff stitch in every other chain.
Step 8: Turn Your Work and Repeat
Once you reach the end of the row, chain one and turn your work. Continue making puff stitches in each space between the puff stitches from the previous row.
Step 9: Finishing Off
When you've completed the desired number of rows, cut your yarn, leaving a tail. Pull the tail through the last loop to secure it, and use a tapestry needle to weave in the ends.
Recommended YouTube Tutorials
If you're more of a visual learner, these YouTube tutorials can help you master the puff stitch with ease:
-
The Crochet Crowd - How to Crochet Puff Stitches: Mikey from The Crochet Crowd offers a clear and detailed puff stitch tutorial, perfect for beginners.
-
Bella Coco Crochet - Puff Stitch Tutorial: Sarah-Jayne from Bella Coco provides an easy-to-follow guide, with close-up shots that make it easy to see each step.
-
Blossom Crochet - Easy Puff Stitch: Blossom Crochet breaks down the puff stitch in a way that's super simple to understand, even if you’re new to crochet.
And there you have it—your very own puff stitch row! By using BlingBlingYarn glow-in-the-dark yarn, you can make your puff stitches not only beautiful but also luminous, perfect for adding a unique touch to your creations. With practice, you'll be able to incorporate puff stitches into various projects, adding a delightful texture to blankets, scarves, and more. Happy crocheting!


Leave a comment
This site is protected by hCaptcha and the hCaptcha Privacy Policy and Terms of Service apply.